Precautions for lab sieve shaker in experimental application
Tuesday March-11 2025 14:04:14
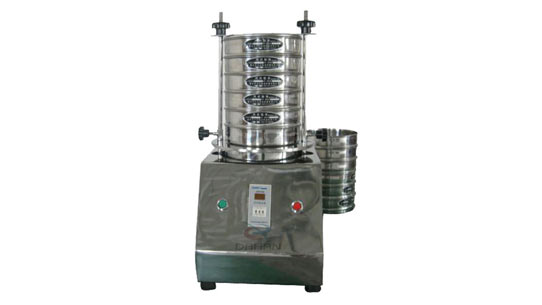
How to use the lab sieve shaker correctly to obtain the most accurate sample analysis results and safe operation process. Of course, standardized operation steps will also reduce your machine maintenance costs and prolong its service life.
Note 1: Check whether the power supply meets the requirements;
Note 2: The lab sieve shaker must be placed horizontally;
Note 3: The vibrating part of the lab sieve shaker cannot be in contact with other objects;
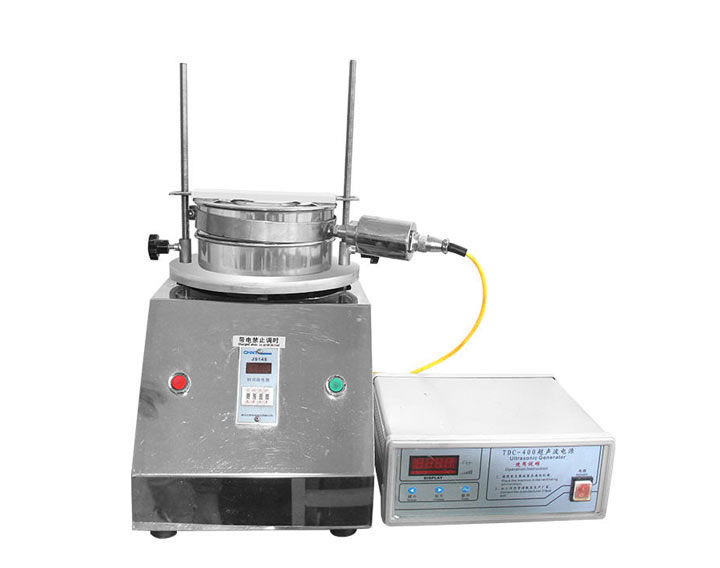
Note 4: Make sure that the bolts of all parts of the lab sieve shaker sieve body are locked;
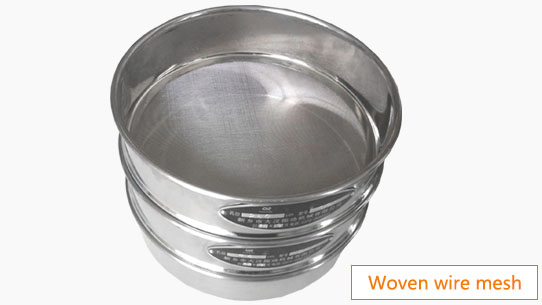
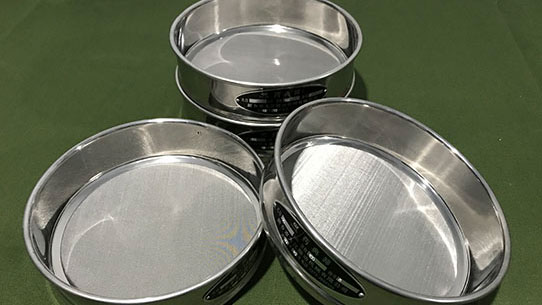
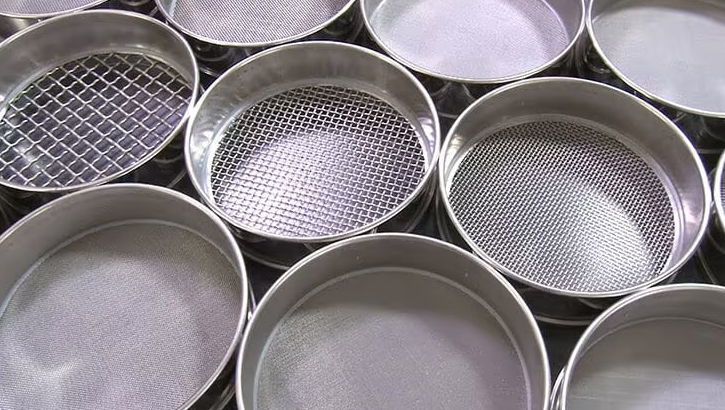
Note 5: Select the appropriate standard screen frame according to the characteristics of the target screening material;
Note 6: Stack the standard screen frame on the screen frame base in sequence from small to large aperture and from bottom to top;
Note 7: Put the test material into the upper screen frame and cover it;
Note 8: Adjust the height of the adjusting rod according to the total height of the screen frame, use the pressure plate and lock nut to position and compress the standard screen frame, and pay attention to the force on both sides;
Note 9: According to the nature and feeding amount of the target material, set the running time on the timer, turn on the power, and start the lab sieve shaker to work.
Sieve shaker application in experiments
Sieve shakers can handle both wet and dry samples, so they can flexibly handle different materials. Wet sieving analysis is used when the material is not affected by liquid, except for dispersion purposes. Dry sieving analysis is suitable for materials that do not require liquid dispersion.
① Application in wet sieving analysis
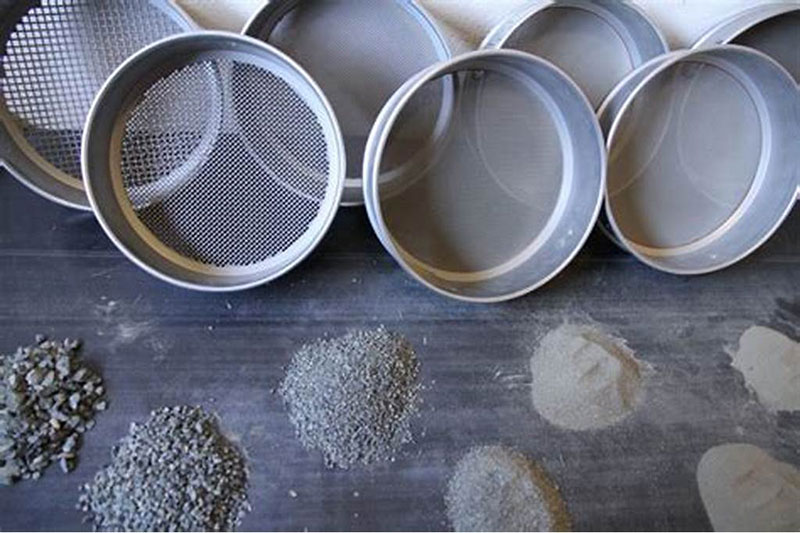
To prepare the slurry, the sample is mixed with a liquid (usually water or other suitable solvent). The slurry is then poured onto a stack of sieves.
Sieves with gradually decreasing mesh sizes are stacked together to separate particles according to size. The sieve with the largest mesh size is at the top and the sieve with the smallest mesh size is at the bottom.
After the sieves are stacked, they are mechanically agitated, which helps to separate according to particle size. The liquid prevents clogging and helps fine particles pass through the sieve.
After sieving, the material remaining on each sieve is collected, dried and weighed. The data is then analyzed to determine the particle size distribution.
② Application in dry sieving analysis
Particle size analysis: used to determine the particle size distribution of powders, granular materials and aggregates.
Quality Control: Ensuring that materials meet specific size and quality standards for consistent product performance.
Material Separation: Separating materials into different size fractions for further processing or analysis.
Soil Analysis: Used in agricultural and environmental research to analyze soil composition and particle size.
Powder Processing: Critical in industries such as pharmaceutical and food processing to ensure uniformity of particle size.
Sample Preparation: Separating samples into specific size ranges to prepare for further testing.
Technical Specifications of Laboratory Sieve
① Suitable for coarse materials as fine as 150 µm.
② Can be used with a variety of test sieves to ensure application flexibility.
③ Designed to effectively expose the sample to all sieve holes, thereby speeding up the analysis process.